STUDIO ORGANIZATION
TIPS
Every artist needs a good workspace to bring their visions to life. But as I’m sure every artist can appreciate, it can sometimes be difficult to keep the space tidy and organized – especially throughout the creative process!
I recently did a full re-org of my home studio and wanted to share a few useful tips that will hopefully help other artists create a workspace that fits their needs. Here are my top 5 recommendations to help create and maintain a tidy studio, regardless of the size:
1. CREATE A SYSTEM THAT WORKS FOR YOU!
Every artist has their own flow that works for them – so before you reorganize your space, take time to think through how you work and what you need for your craft. Here are a few questions to consider:
Do you work on one thing at a time all the way through, or do you bop back and forth between projects and tasks?
Are you good at remembering where things are, or do you need some reminders?
Do you like to pull out all your materials and carry them with you to a work area, or do you like to grab what you need as you need it?
Answering these questions will help determine what layout makes the most sense for your studio, and also inform you on how best to store your supplies. Make your space work for you – there are a ton of cute storage solutions out there to try!
2. HAVE DESIGNATED AREAS
Personally, I like to jump around from task to task and it’s easier to do when I have a designated area for everything. Your “areas” will be different depending on what you need, but here’s how I divided up my studio space:
Office area: This includes my desk, office supplies, papers, plants, books, etc. I do my best to keep this space clean, but it’s not always mess-free :)
Storage area: I use this space to store my finished / half-finished artwork, occasional supplies, etc. I try to keep everything stored nicely and tucked away so that it’s easier for me to keep track of what I have.
Painting area: I made sure this area was situated in the part of my studio that has the best light. I use this space to store the majority of my used art supplies, in-progress paintings, drop cloth, cleaning supplies, etc.
Lounge area: Since my pups frequent the studio, I wanted to have a space for them to comfortably lounge away from everything I am working on. I tucked a couch in the corner of my studio and it’s the perfect place for Wes and Remy to nap while I work – or for me to lounge when I’m taking a break or working on a digital piece.
3. FLAT FILES, FLAT FILES, FLAT FILES!
Flat files (or drafting cabinets) are SUCH a game changer. They take up a good amount of space, but in my opinion are well worth it. Not only do they keep my larger pieces nice and flat for storage, but the cabinets also provide a nice flat surface to paint on. They also give me more surface space for my ever-growing collection of plants and art supplies… so that’s a plus! If you have the space, I’d HIGHLY recommend adding some flat files to your studio.
4. KEEP YOUR SUPPLIES ORGANIZED
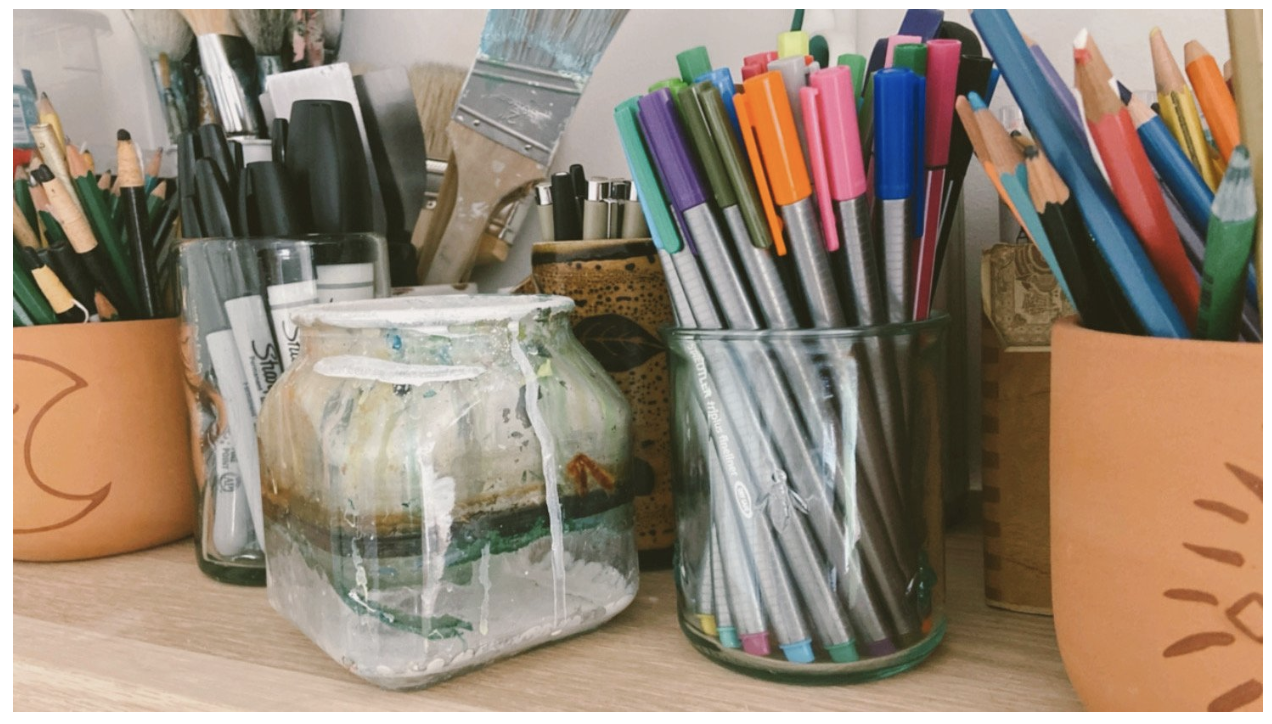
I’m a big believer in “everything has a home.” You need a place for everything so you can easily pull what you need, and put it back when you’re done – without having to put much thought into it. When you’re creating a system that works for you, consider how frequently you use certain materials, if there are supplies that make sense to group together, and if there are any extra items you can tuck away until you need them.
When I was updating my space, I made sure that the supplies I use most often were grouped together and placed somewhere they’d be easily accessible. I also tucked away any excess inventory to make room for more important items.
5. TIDY UP AT LEAST ONCE A WEEK
Tidying might feel like a chore that you simply don’t have time for, but I’ve learned the hard way that it’s WAY less overwhelming if you do it consistently as opposed to letting the mess pile up until you just can’t take it anymore! I end each week by spending 15 minutes tidying my studio. That way, I know I’ll have a clean workspace to return to. Again, every artist has their own creative process, but I find I’m able to let my art flow more easily when I’m working in a clean space – and don’t have the stress of a deep clean looming over me. So whether it’s 5 minutes each day or one time a week, do your best to tidy consistently.
My studio is a relatively small space, so I knew I wanted to find a way to squeeze every last inch out of it during my reorganization. Luckily, I was able to find (and fit!) everything I needed with some facebook marketplace bargain hunting and several trips to Ikea and Home Depot. The room also has a big, awkward radiator I had to work around – which made figuring out the ideal layout of the space tricky. BUT with the addition of flat files, I was able to make it work …and even had enough room for a designated “lounge area.”
By following the recommendations listed above, I was able to create a workspace that is WAY more conducive to my workflow and maintain a level of organization and productivity that I wasn’t able to do in my previous space. Hopefully, they can help you do the same!


